High Crag, Yorke Folly, Bewerley, Pateley Bridge and Brimham Rocks
This walk beginning in Dacre Banks is a challenging 10 mile circuit that covers some of the Nidderdale Way. From Dacre Banks the walk tracks west to the hamlet of Heyshaw before climbing onto moor at High Hood Gap. It then drops down into the village of Bewerley and then into Pateley Bridge before climbing again via Panorama Walk to Blazefield. From the hamlet the walk takes a route east on a number of tracks to Brimham Rocks before turning south back to Dacre Banks via Summerbridge. The walk is a challenging one for map readers because there are many places where paths go off in all directions particularly on the approach to Brimham Rocks, a difficult proposition on a foggy or misty day as it was when I did it. Thank heavens for my recently acquired map and compass skills.
Google Maps Open Source Maps| Statistics and Files | ||
|---|---|---|
| Start: Dacre Banks | Distance: 12.0 miles (19.3 km) | Climbing: 608 metres |
| Grid Ref: SE196619 | Time: 5-6 hours | Rating: Hard |
| GPX Route File | Google Earth File | About Pateley Bridge |
| Statistics | |
|---|---|
| Start: Dacre Banks | Distance: 12.0 miles (19.3 km) |
| Grid Ref: SE196619 | Time: 5-6 hours |
| Climbing: 608 metres | Rating: Hard |
| GPX Route File | Google Earth File |
Ordnance Survey Explorer Map (1:25,000)
The Walk:
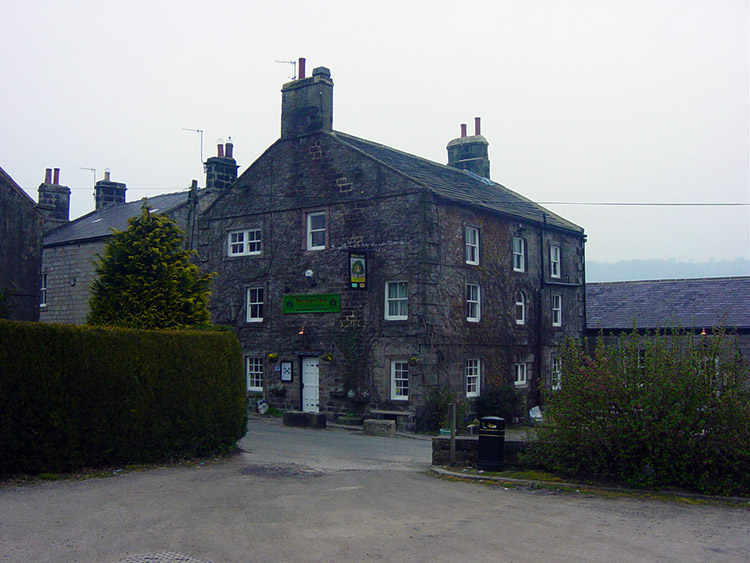 The Royal Oak, Dacre Banks
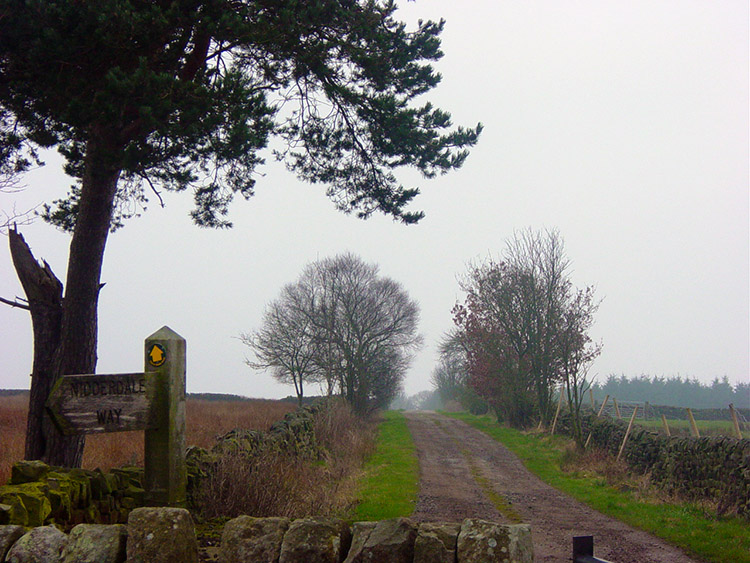 Nidderdale Way
As I set off from home the weather was overcast and misty but at least it as dry. The weather forecast had forecast this start to the day with sunny spells later. This is what I was hoping for as I drove from Leeds to my starting point at Dacre Banks. I arrived in Dacre Banks at 10.30am it was still misty with little visibility. I changed into my walking gear trusting that the forecasters were right and walked off in dank but dry conditions from my starting point in a westerly direction to Heyshaw.
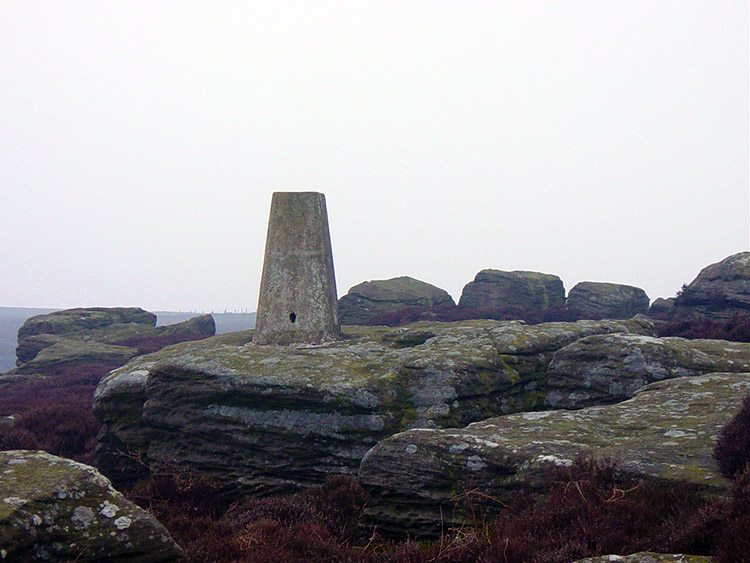 Trig pillar on High Crag
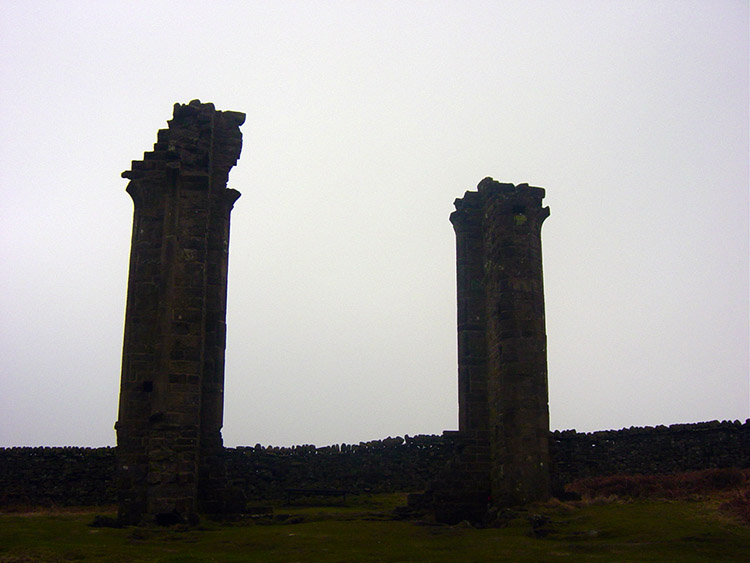 Yorke Folly
The climbing to Heyshaw was moderate over pasture fields but from the village it got much steeper as I climbed up to the mast at Guise Cliff. I was on moorland now and a sign warned me to keep to the paths. I walked on the moor to the trig point at High Crag and then made my way over the moor to Yorke Folly. All that remains of the folly are two impressive towers that once supported an arch. The folly can be seen from Pateley Bridge. Ominously it was getting darker with the weather closing in, not clearing as promised. Any rain was still holding off though as I headed towards Strikes Wood.
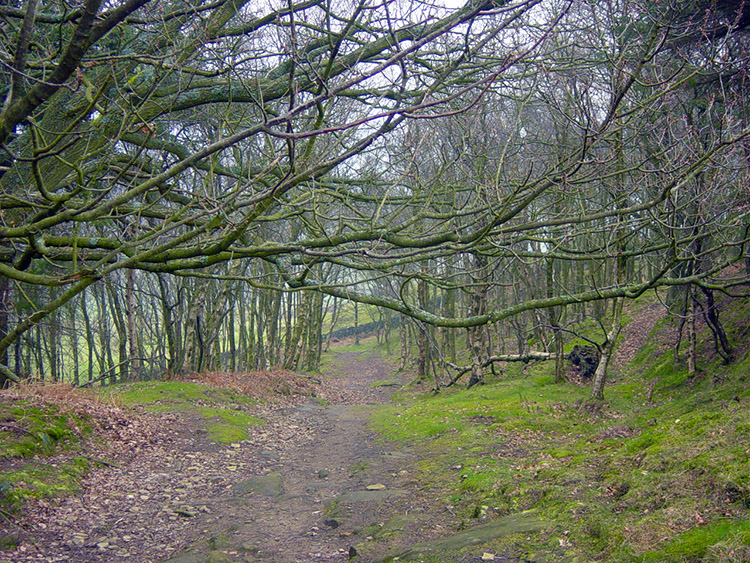 Skrikes Wood
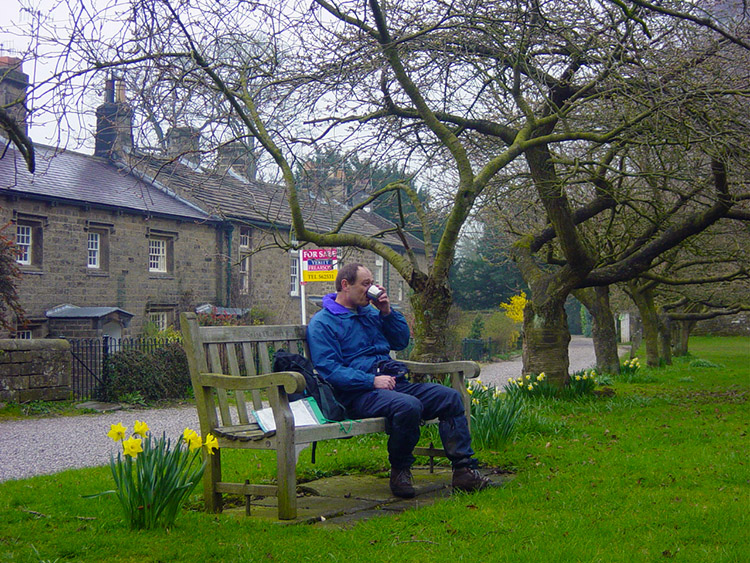 Refreshment break in Bewerley
From Strikes Wood I headed to the village of Bewerley. I was getting a little tired and ready for a break. I decided on Bewerley as my break point and just as I did the rain came. It began with drizzle and fortunately I found a bench in the village that was sheltered by trees. I sat and enjoyed sandwiches, pop and a flask of warming soup. After my refreshments I set off walking in the steady drizzle to Pateley Bridge.
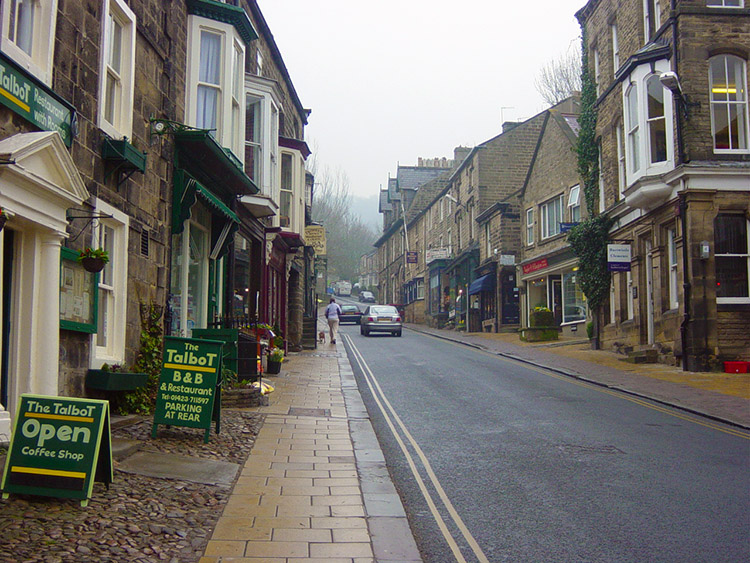 Pateley Bridge
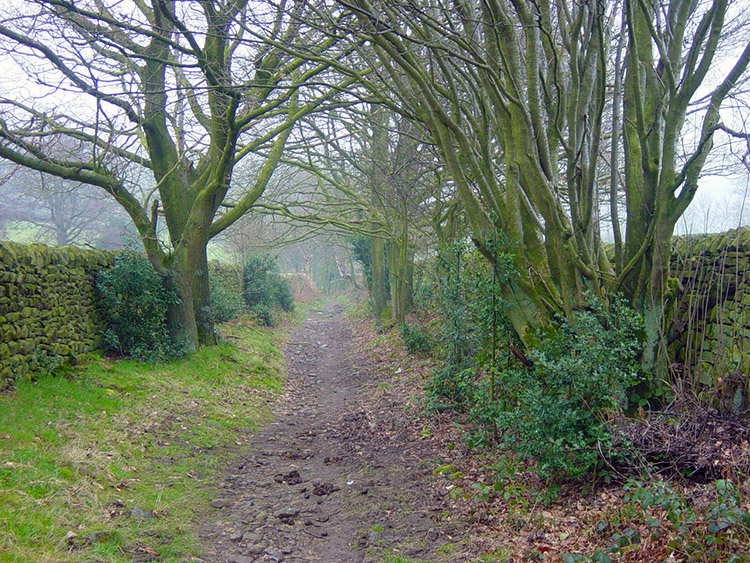 Path to Blazefield
Once in Pateley Bridge I planned to go to a cafe hoping for the rain to go. Alas the cafes were all closed and the rain continued so much that by the time I had climbed out of Pateley Bridge via Panorama Walk the rain was falling more heavily. The walk out of Pateley Bridge via Panorama Walk is steep so at least I was warm while getting wet.
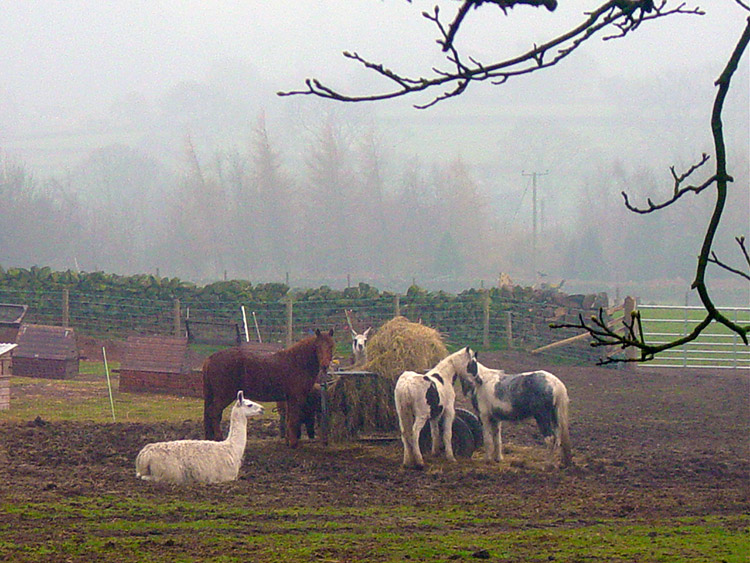 Horses and Llamas
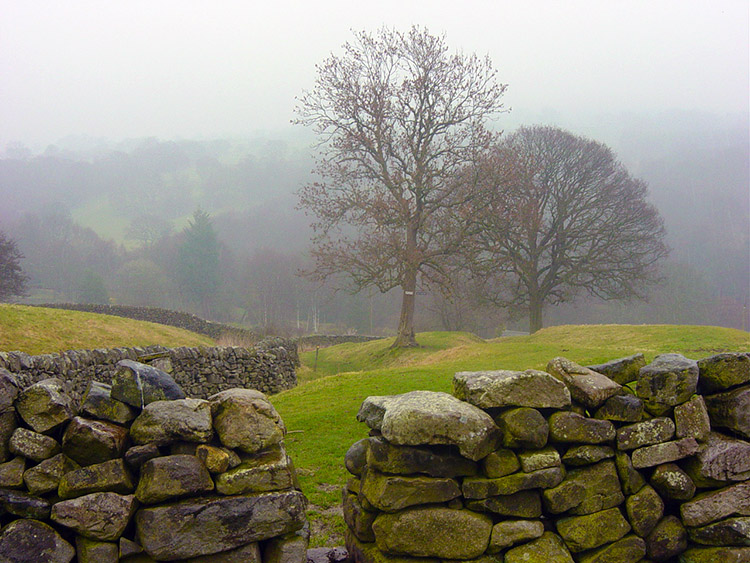 Nidderdale Way to Brimham Rocks
At Blazefield it was getting even heavier and I was forced to put my wet weather over trousers on. What do the weather forecasters know? As I walked on to White Houses and into the woodland just west of Brimham Rocks the rain was teeming heavily. I scampered into the woods and sought out a large holly tree to shelter under for 15 minutes.
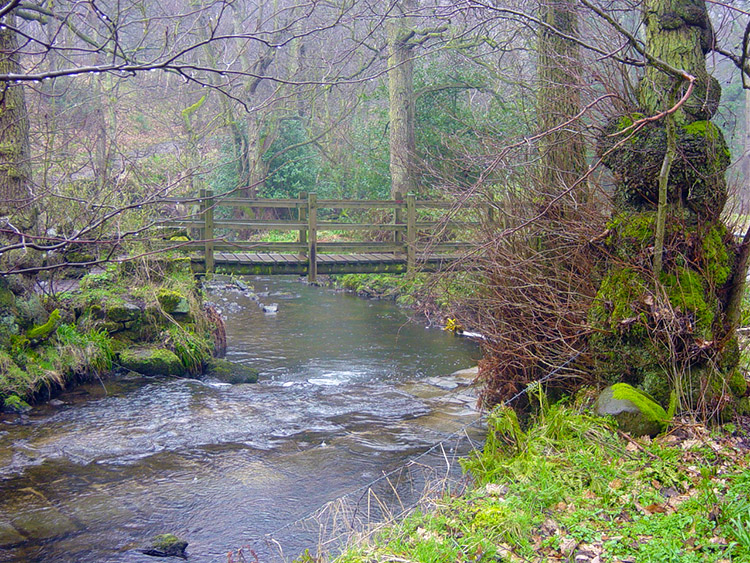 Footbridge across Fell Beck
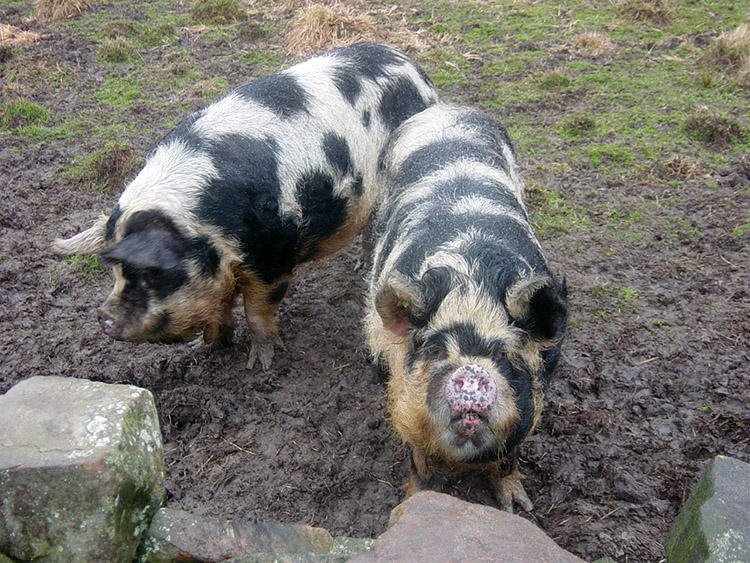 Characters
The rain eventually calmed as I crouched down in my shelter and I decided it was time to leave. During my search for a suitable tree I had crossed several paths and as visibility was now virtually down to a few yards I had no landmarks to orienteer by. I knew roughly where I was but there were paths going in every direction so it was a case of using the compass and trying to make my course to Brimham Rocks blindly. I knew I had to stick to an east course and did so as much as I could despite the obstacles like walls and hedges. At a smallholding a couple of inquisitive pigs spurred me on.
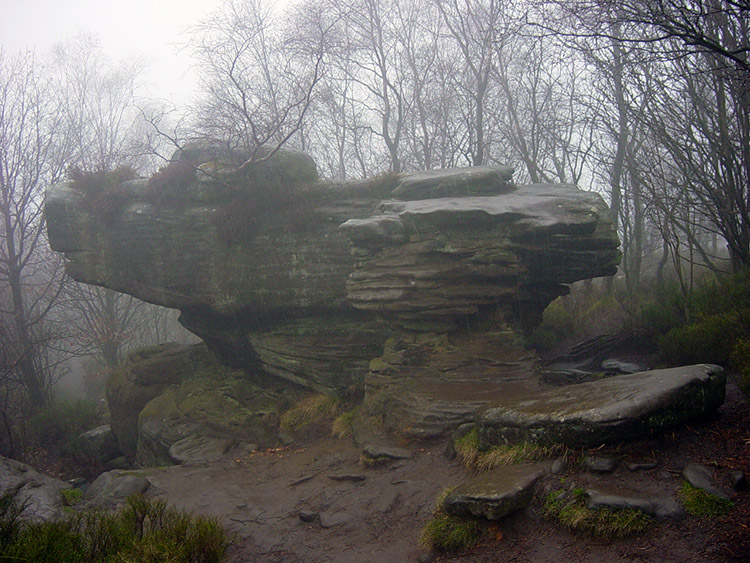 A Brimham Rock
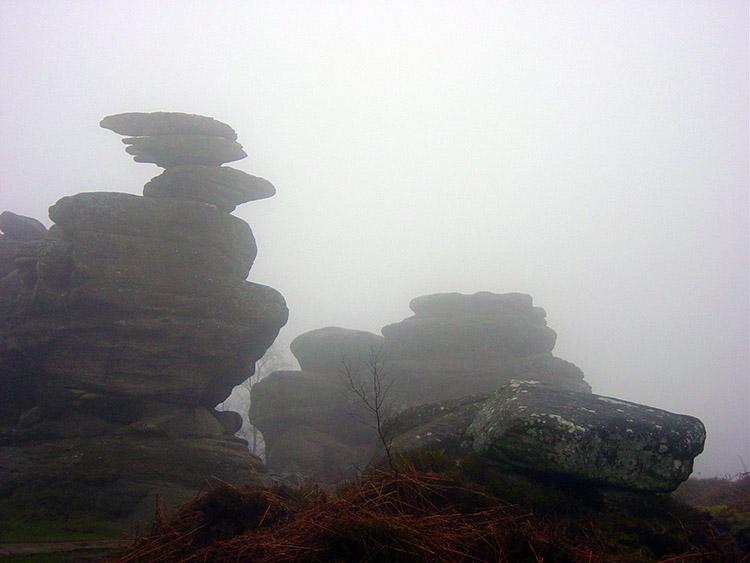 Brimham Rocks
After a while I saw rocks in the mist and this visual observation was followed by an audible signal. I could hear voices. I headed towards them and I then knew I had reached my goal at Brimham Rocks. This highly popular tourist attraction draws thousands of visitors every year but there were not many today, just a few young groups with guides. It was so misty the rocks could hardly be made out until I was almost on them but I still enjoyed a nice walk around until it was time to go and complete my walk.
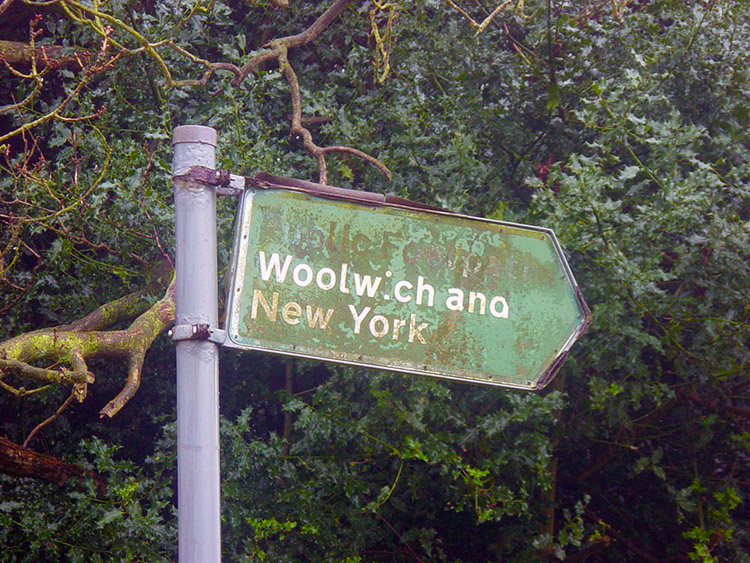 The way to London and New York?
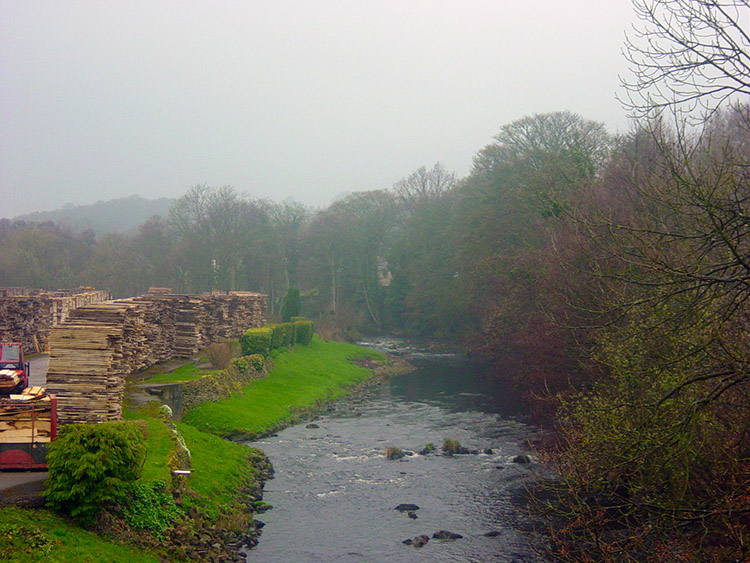 River Nidd at Summerbridge
From Brimham Rocks I made my way back to the car in Dacre Banks via Summerbridge. It was all done by following the road down Hartwith Bank into Summerbridge and then on roadside footpaths to the finish. During my final steps I mused the walk had been an enjoyable one but it would have been far more enjoyable if I had been able to see things more clearly and see where I was going!